
Car Android Stereos
How to Install an Android Car Stereo: A Step-by-Step Guide
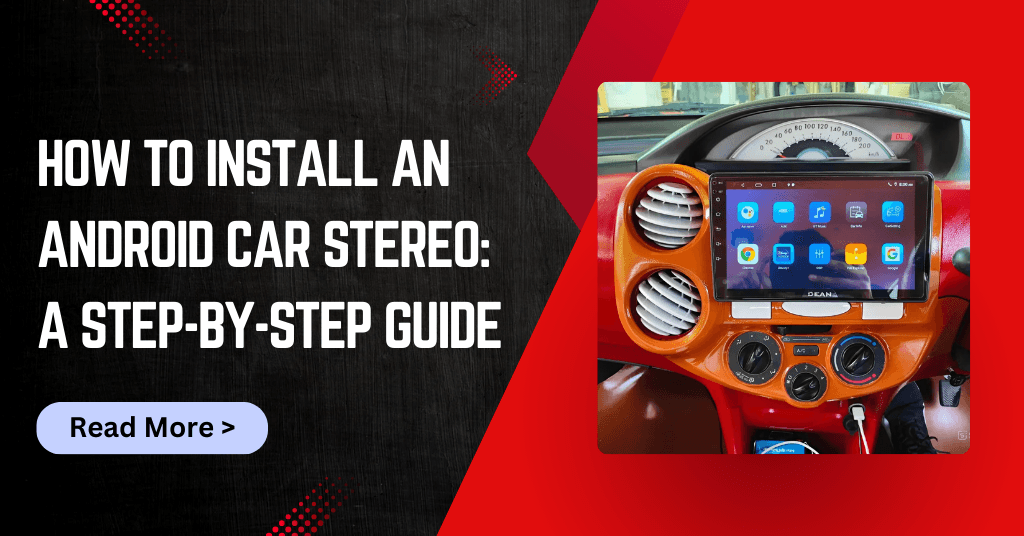
Upgrading your car’s stereo to an Android-powered system can greatly enhance your driving experience. From seamless connectivity to navigation, music streaming, and hands-free calls, an Android car stereo brings modern technology to your vehicle. If you’re planning to install one yourself, follow this step-by-step guide to ensure a smooth and successful installation.
Tools and Materials Needed
Before you begin, gather the following tools and materials:
- Android car stereo unit
- Screwdrivers (Phillips and flathead)
- Trim removal tools
- Wire harness adapter
- Electrical tape or wire connectors
- Soldering iron (optional but recommended)
- Wire strippers
- Mounting brackets (if required)
- User manual for your car and stereo
Also Read: QLED Android Stereo: The Ultimate Upgrade for Your Car’s Entertainment
Step 1: Prepare Your Vehicle
- Turn Off the Car’s Power – To avoid electrical shocks or short circuits, disconnect the car battery’s negative terminal.
- Remove the Dashboard Trim – Use a trim removal tool to carefully detach the dashboard panel surrounding the existing stereo.
- Unscrew and Remove the Old Stereo – Locate the screws securing the factory stereo, remove them, and gently pull out the unit. Disconnect all wiring harnesses and antenna connections.
Step 2: Connect the Wiring
- Match the Wires – Compare the wiring diagram of the Android stereo with the car’s wiring harness. Use a wiring harness adapter to simplify the process.
- Secure the Connections – Connect the corresponding wires (e.g., power, ground, speaker wires) using crimp connectors, soldering, or electrical tape.
- Connect Additional Features – If your Android stereo supports backup cameras, steering wheel controls, or additional accessories, wire them according to the manufacturer’s instructions.
Also Read: Top 10 Features to Look for in an Android Car Stereo
Step 3: Install the Android Car Stereo
- Attach the Mounting Brackets – If required, secure the stereo to the mounting brackets to fit into the dashboard slot.
- Slide the Stereo into Place – Carefully insert the unit into the dashboard opening and screw it into place.
- Reconnect the Battery – Reconnect the negative terminal of the car battery to restore power.
Step 4: Test the Stereo
- Power On the Stereo – Turn on the ignition and check if the stereo powers up.
- Test Audio and Connectivity – Play audio through the speakers, connect Bluetooth or Wi-Fi, and test additional features like GPS navigation and backup camera.
- Check for Errors – Ensure that all buttons, touchscreen functions, and controls are working correctly.
Step 5: Reassemble the Dashboard
- Secure the Trim Panel – Once everything is functioning properly, place the dashboard trim back into position and snap it in securely.
- Final Inspection – Double-check that all connections are secure and that there are no loose wires or rattling components.
Also Read: Choosing the Right Android Stereo for Your Car: A Step-by Step Guide for Beginners
Conclusion
Installing an Android car stereo is a rewarding DIY project that enhances your vehicle’s functionality. By following these steps, you can ensure a hassle-free installation and enjoy all the benefits of your new system. If you encounter any difficulties, consult the stereo’s user manual or seek professional assistance.
Now that your new stereo is installed, enjoy hands-free calls, music streaming, and navigation with ease!
Pingback: Budget vs. Premium: Which Android Car Stereo is Worth Your Money? -
Pingback: Top 10 Reasons to Switch to an Android Stereo for Your Car -
Pingback: How an Android Car Stereo Can Improve Your Daily Commute? -